How to Retrofit Windows for Better Energy Efficiency?
Drafty rooms, cold glass, and uneven temperatures can make a home uncomfortable, even when its heating system works properly. Replacing every window is not always necessary. Carefully planned retrofit windows can improve comfort and reduce unwanted heat loss while preserving existing frames. The right solution depends on the window’s condition, the local climate, and how the home is used.
A practical assessment starts with visible details: cracked glazing putty, loose locks, worn weatherstripping, and air leaks around the frame. Simple measures, such as fresh weatherstripping or carefully applied caulk, may help when the window itself remains sound. Interior storm panels or suitable low-emissivity film can provide another layer, but products vary and should match the glass and installation conditions. Small steps matter.
Condensation between panes, soft or damaged frames, and persistent drafts may call for a qualified window professional. Older homes can also contain materials that require careful handling, so avoid disturbing suspect coatings or sealants without appropriate advice. Not every upgrade pays back quickly. Energy savings depend on the home, energy prices, workmanship, and the measure selected; estimates should be treated as estimates, not guarantees. A useful retrofit plan compares repair options, checks product guidance, and considers ventilation as well as insulation. The goal is not simply warmer glass, but a more comfortable, durable home—with room to revise the plan when real-world results differ from expectations.
Assessing Existing Windows and Identifying Heat-Loss Paths
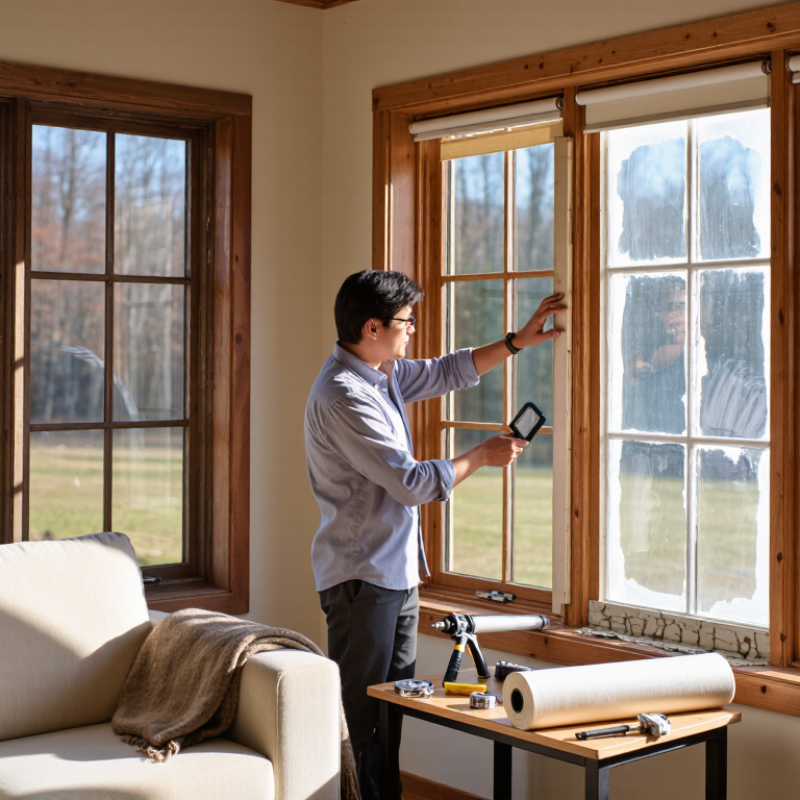
Before choosing an upgrade, inspect each window on a cold, breezy day.
Close the sash and hold a thin tissue near the frame, meeting rails, and sill. If it flutters, moving air is likely entering there. Check the latch, too: a sash that does not pull firmly against its seals can leave a narrow gap.
Start on a cold day. Note which windows feel drafty and where.
Not every cold spot means a leak. Glass loses heat more readily than an insulated wall, so its inner surface may feel chilly even when the seals are sound. Run a hand slowly along the frame and the wall around it; a sharp change in temperature can point to a gap or poorly sealed junction.
Look for cracked caulk, flattened weatherstripping, loose glazing putty, and condensation on the room-facing glass. Condensation suggests high indoor humidity or a cold surface, but it does not identify the cause by itself.
A simple inspection can miss hidden leaks, especially behind trim. That is an imperfect starting point, not a diagnosis. Record the location and weather conditions, then compare observations across several windows before deciding what needs repair.
Preparing Window Frames and Surrounding Openings
Preparing the opening is as important as choosing new glass. The U.S. Department of Energy estimates that windows account for 25–30% of residential heating and cooling energy use. Before removing trim, photograph each corner and mark the sash, jamb, sill, and head. Look for soft wood, peeling paint, dark water stains, and daylight around the frame. Small gaps matter. Measure the opening in several places; older houses are rarely perfectly square. Not every frame qualifies.
Remove interior casing carefully, then check whether insulation is missing or damp. Do not cover rot or active leaks with foam. Repair the water source first, and keep exterior drainage paths and weep openings clear. For narrow, dry gaps, use compatible low-expansion window-and-door foam or backer rod with sealant. Avoid forcing material behind the frame, where pressure can bow it. A patch can hide trouble; that is the part people often miss. The U.S. Environmental Protection Agency’s ENERGY STAR guidance estimates that air sealing and insulation can reduce average heating and cooling costs by about 15%; actual savings depend on the home and climate. For pre-1978 painted surfaces, check lead-safe guidance before disturbing old paint.
Installing Weatherstripping, Films, or Secondary Glazing
A retrofit works best when it matches the leak. On a windy day, move a damp hand around the sash; a cool thread of air often reveals a gap. Small gaps matter. The U.S. Department of Energy’s Energy Saver guidance estimates that windows account for about 25–30% of residential heating and cooling energy use. That figure makes modest repairs worth checking, though results vary by home and climate.
Apply compressible weatherstripping where a movable sash meets its frame. Clean and dry the surface first, then close the window to test the seal without forcing it. For glass that feels cold but has no obvious draft, interior window film can add a still-air layer. Keep the film taut and avoid covering drainage paths or hardware. It is easy to assume a clear film will fix every cold-window problem; it will not repair a loose frame or failed seal.
Secondary glazing adds a separate interior panel, creating an insulating air gap while preserving the original window. Pacific Northwest National Laboratory analysis reports potential heating and cooling savings of roughly 10–30% for low-emissivity storm windows, depending on conditions. Measure carefully before ordering panels, and check that condensation can escape. A tight retrofit can still trap moisture. If the glass fogs between layers, reassess ventilation and the seal rather than adding more insulation.
How to Retrofit Windows for Better Energy Efficiency?
Estimated reduction in window-related heat loss by retrofit method
Indicative estimates: weatherstripping limits heat loss from drafts, while films and secondary glazing add a thermal barrier. Actual results vary with window type, condition, climate, and installation quality.
Testing Performance and Maintaining Window Upgrades
After a window retrofit, test the whole assembly, not just the new seal. On a breezy day, move a thin tissue slowly around the frame and sash. Watch for movement that suggests air leakage. Repeat the check with the window closed and locked. A strip of paper caught between sash and frame can also reveal uneven compression; it should resist a gentle pull. Small clues matter. These checks are useful, but they cannot measure total energy savings. Compare room comfort and heating or cooling patterns over several weeks, while noting outdoor temperatures and thermostat settings. Otherwise, the comparison can mislead.
Inspect the upgrades every season. Look for cracked caulk, loose weatherstripping, peeling film, or condensation trapped between panes. Clean tracks with a soft brush, then confirm that sashes open, close, and latch without force. Avoid harsh solvents, which may damage coatings or seals. If condensation keeps appearing on interior glass, check indoor humidity and ventilation before assuming the retrofit failed. That is not proof. Draft tests are sensitive to wind, and a handheld temperature reading can vary with sunlight or glass reflections. I would record observations and retest under similar conditions; imperfect notes are still more useful than memory. If a window remains difficult to operate or persistently leaks, have a qualified window professional inspect its fit and surrounding frame.